
The Perfect Left Chest: Embroidery Size & Placement Guide
Where exactly does the logo go? How big should it be? Here are the industry standards for professional placement.
If you are frustrated with left chest embroidery size placement, you are not alone. It is one of the Common Embroidery Mistakes that new shops make: “Where exactly does the logo go?”
If you place it too high, it hits the collarbone. Too low, and it ends up in the stomach area or the armpit. If the logo is too big, it looks like a billboard. If it’s too small, it looks cheap. Getting this right is the difference between a shirt that looks professional and one that looks like a DIY project.
1. The Golden Rule for Size
For a standard corporate polo shirt, there is a “sweet spot” for how big the logo should be.
- Standard Width: 3.5 inches to 4.0 inches.
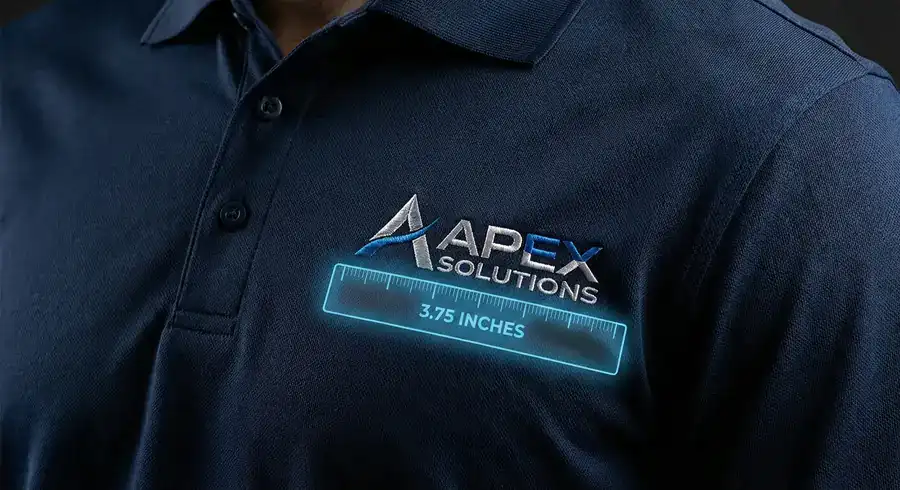
- The Sweet Spot: 3.75 inches wide.
- The Limit: 4.5 inches. (Don’t go bigger than this!)
Why 4 inches? Because of your equipment. Most commercial embroidery machines use a standard 12cm or 15cm hoop (the ring that holds the fabric). A 4-inch design fits comfortably inside these hoops with enough clearance for the presser foot. If you go wider than 4.5 inches, you often have to switch to a large jacket-back hoop, which is overkill for a polo.
The Small Text Danger Zone
While we are discussing size, be careful about going too small. If you shrink a logo down to 3.0 inches, the text might become unreadable. Letters need to be at least 4mm tall to be clear. If you go smaller, the thread turns into a blob. We explain exactly how to handle tiny letters in our Small Text Guide.
2. The Placement Rule: The “Crosshairs”
Placement is not a guessing game. It is geometry. To find the exact center for your hoop, imagine two invisible lines crossing each other on the shirt.
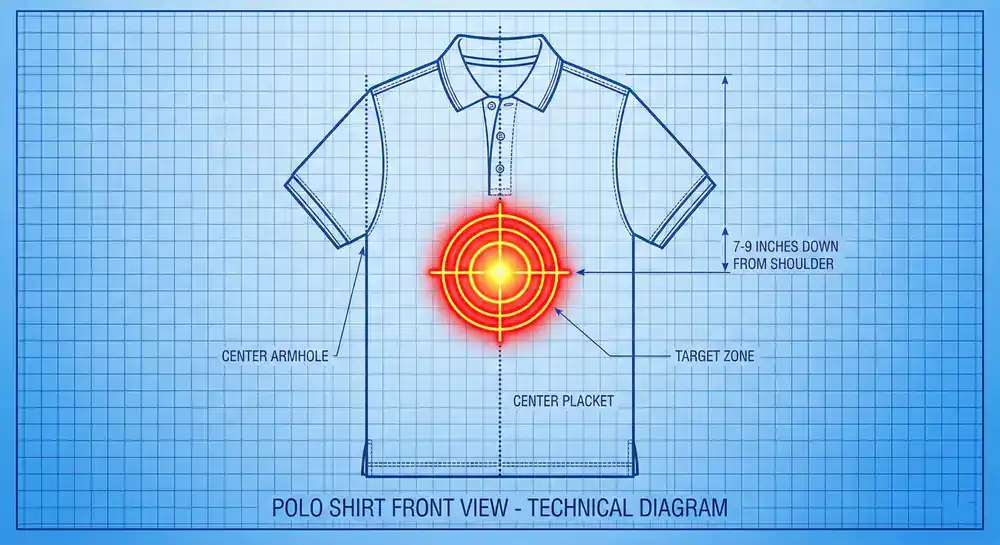 The target zone is exactly where the vertical and horizontal lines meet.
Step A: Left to Right (Horizontal)
Find the exact middle point between the Placket (the buttons in the center) and the Side Seam (under the arm). Your logo should sit right in the middle of that space.
Mistake to Avoid: Don’t put it too close to the armpit! If you do, the logo will disappear when the person puts their arms down.
Step B: Top to Bottom (Vertical)
Grab a ruler. Measure down from the shoulder seam (where the shoulder meets the collar).
- Men’s Polos (L/XL): 7.5 to 9 inches down.
- Women’s Polos: 6 to 8 inches down.
3. Different Shirts = Different Rules
Not all fabrics behave the same way. You must adjust your placement based on what you are stitching.
 Different sizes affect the look. Left: Too Small. Center: Perfect. Right: Too Large.
Hoodies & Sweatshirts
Hoodies are baggy and have a heavy texture. If you use the normal polo placement, the logo will look too high and too far to the left.
The Fix: Move the placement 1 inch lower and 1 inch closer to the center zipper. Also, because fleece sinks, make sure you use a Knockdown Stitch to keep the logo visible.
Performance Polos (Dri-Fit)
These shirts are slippery and stretchy. While the placement remains the same (7-9 inches down), the stabilization changes. You cannot just hoop it and go; you need to control the stretch. Read our guide on Digitizing for Performance Polos to avoid puckering.
Jackets
Jackets are rigid and often have thick zippers or inner pockets.
The Fix: Keep the logo at least 1 inch away from the zipper. If you get too close, your needle will hit the hard zipper teeth and break. Note that jacket backs require a completely different approach-see our Jacket Back Guide for handling large designs.
Shirts with Pockets
If the shirt has a pocket, you have two choices:
- Above the Pocket: This is the easiest way. Center the design with the pocket, and float it 0.5 inches above the pocket hem.
- On the Pocket: This is difficult. You have to sew the pocket shut (which customers hate) or use a special pocket clamp. We generally recommend going above.
Before you run a full order, always run a test sew-out. Use our Quality Control Checklist to ensure the placement looks balanced when worn, not just when flat on the hoop.
Got the Size? Now Get the File.
We digitize left-chest logos to the perfect 3.75″ industry standard every day.
Get a Quote ($14.88 Flat)Turnaround in 4-6 hours.
Serving California’s Apparel Decorators
We provide specialized digitizing support for print shops in our key hubs:

